I saw this and just knew I wanted to try this....and it doesn't really look that complicated!!!
This is from Digital Doodling but sadly enough she is closing down the blog. I am not sure how long we will be able to access this so I am spending time to make sure some great work doesn't get pushed to the side and forgotten.
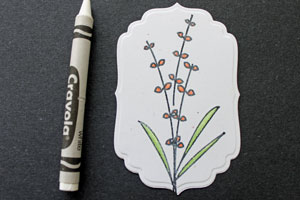
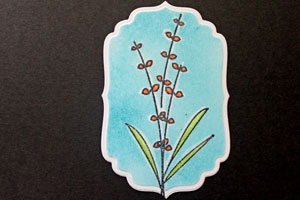
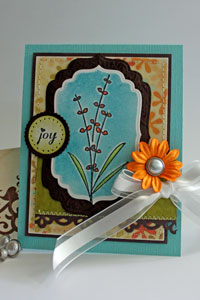
Below is an example of a card made using one of my favourite paper crafting techniques, i.e. paper-piecing
.
 .
.
 .
.
 .
. .
How to paper-piece using digital stamps...
.
.
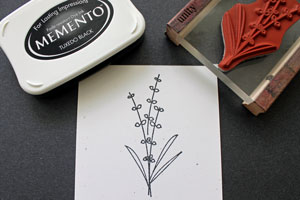
1 Print off your chosen digital stamp...
. ...
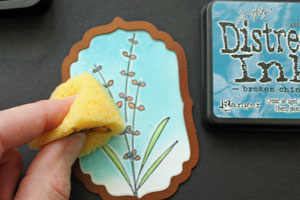
2 Place your digital stamp on to a light box ready to trace around the chosen parts using a fine black ink pen...
. .
 ..
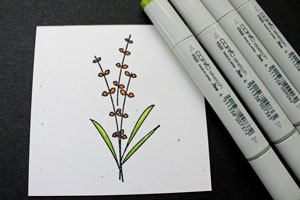
..3 Using a light coloured paper of your choosing, cover the digital stamp and begin to trace around the desired area which you would like to paper piece... You could also use vellum and trace with this / or run vellum through your printer recreating another digital image (if you have an A4 sized sheet) and then cut out the chosen areas to paper piece from the vellum...
. .
 ..
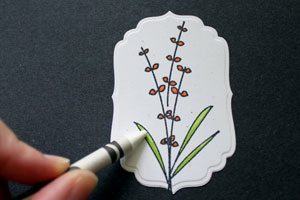
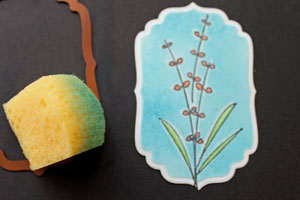
..4 Take your time to complete the project - if you rush - it may smudge or look unprofessional after you cut it out...
. .
 ..
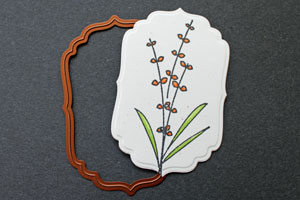
..5 Once you have traced around the desired areas, cut it out using a fine pair of cutting scissors.
.
. ..
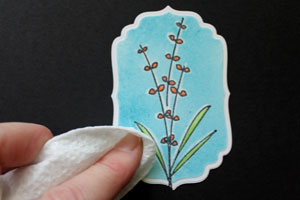
..6 Once you've cut around all your chosen traced areas - colour your digital stamp in the non paper pieced areas first and then apply the cut out paper / vellum to complete your project... simples!


.jpg)


