Christina from Card Making Magic has great tutorials and always easy to follow. Here is her tutorial on making this twisted easel card. As I was looking for a tutorial I discovered there are several different variations.. So I guess I will be working on getting them - so look for them on other posts!! Below this tutorial is a video for everyone that needs both ( I do!!)
So here is Christina with her twisted easel card.....
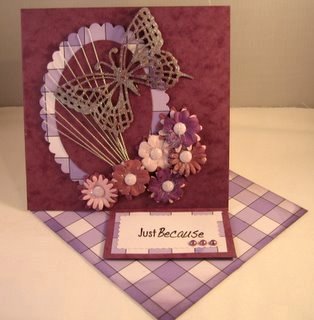
Step 1
You will need to fold your card into a square.
(Mine is 15cms)(6")
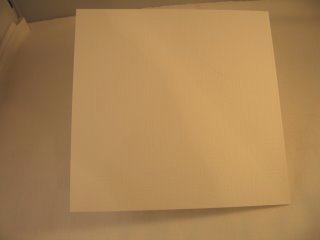
Step 2 You will also need another piece of card the same size as your card square.
Leave this to one side for now.
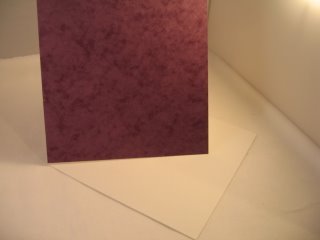
Step 3
Open the card out and take the top left corner and fold it into the center.
This creates the easel part to the card.
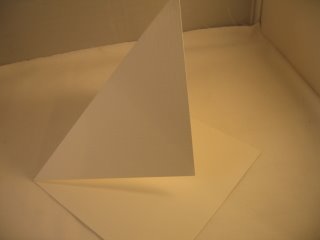
Step 4 Apply a wet glue to the lower part of this triangle only or you will not be able to open the card as an easel.
(As shown in the photo)
Step 5
Add the other square of card to this glue and press in place.
It will now look like the photo, and you can see that the easel is twisted on the base card.

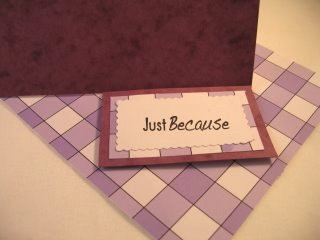
Step 6 Line the base with some pretty paper and choose the sentiment you need.
Mat and layer it onto some of the card and paper you have used and add it to the base on foam pads to raise it up.
This is the piece that will hold the easel open for you.
Decorate the rest of your card however it pleases you.
Use any embellishments that you have in your ever growing "Stash"
 I have added flowers... glitter... pearls... and some
really fine twine wrapped around the Spellbinder Oval.
A really pretty Twisted Easel Card that can be for any occasion.
Have fun!

Here is a video tutorial done by Margaret with I Love Crafting She has a number of video tutorials and she is easy to understand and makes it look so easy LOL..I shall see how easy this really is.
So here is Christina with her twisted easel card.....

Step 1
You will need to fold your card into a square.
(Mine is 15cms)(6")

Step 2 You will also need another piece of card the same size as your card square.
Leave this to one side for now.

Step 3
Open the card out and take the top left corner and fold it into the center.
This creates the easel part to the card.

Step 4 Apply a wet glue to the lower part of this triangle only or you will not be able to open the card as an easel.
(As shown in the photo)
Step 5
Add the other square of card to this glue and press in place.
It will now look like the photo, and you can see that the easel is twisted on the base card.


Step 6 Line the base with some pretty paper and choose the sentiment you need.
Mat and layer it onto some of the card and paper you have used and add it to the base on foam pads to raise it up.
This is the piece that will hold the easel open for you.
Decorate the rest of your card however it pleases you.
Use any embellishments that you have in your ever growing "Stash"
 I have added flowers... glitter... pearls... and some
really fine twine wrapped around the Spellbinder Oval.
A really pretty Twisted Easel Card that can be for any occasion.
Have fun!

Here is a video tutorial done by Margaret with I Love Crafting She has a number of video tutorials and she is easy to understand and makes it look so easy LOL..I shall see how easy this really is.


No comments:
Post a Comment