Ok you have to admit these are the cutest things ever!!! Cheryl at CardbyCG made this and I instantly wished I had found it earlier to make some for work!! There is always next year..or maybe a ghost for Halloween....a snowman for winter holidays...ohh my mind is working overtime to find an excuse to make some of these!!!! Hmm and Sam's Club carries these in bulk hehe.


My sons and I are making these cute bunnies for classroom goodies for Easter. They turned out so cute! :)
First off, I know you are thinking it already...
"Where in the heck is the Gypsy cut file for these A-DOR-A-BLE bunnies? Cheryl always shares her Gypsy files!!"
Well, here it is:
To make these yummy bunnies you'll need a Gypsy, the Gypsy Wanderings cart and these other supplies:

Peachy Keen face parts stamp set (or draw on the face by hand)
ATG glue or other glue runner
Scotch Quick Dry Glue
Tweezers
tape
Ink pad
Peppermint patties candies

See how cute a personalized stamp is? I love these and they only cost $6 each.
We cut out all out pieces on the Gypsy. On my file you'll see one layer for the head (including the welded ears), one layer for the faces (including the nose cut out), and one layer for the inside of the ears.
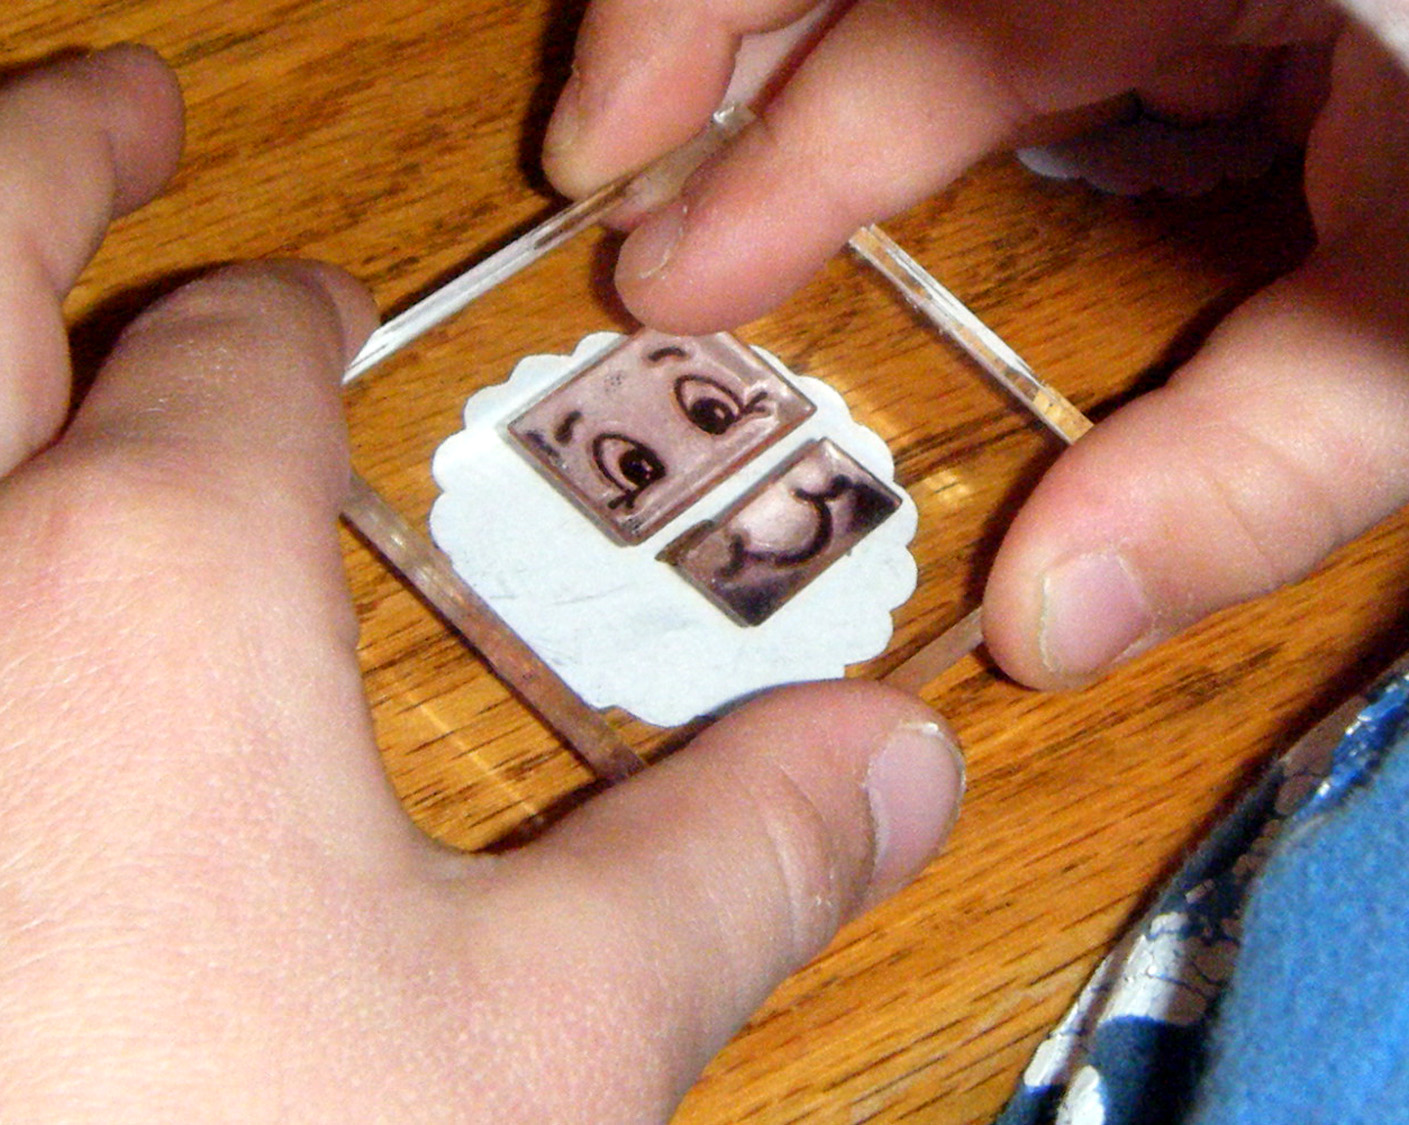
With the noses cut out of the faces, we just lined up some Peachy Keen face parts on our stamp block.

Then we flipped our faces and taped a piece of pink card stock to the cover the nose hole.

We also glued on the inside of the ears using Scotch Quick Dry Glue.
How do you like our bunny parts? :)

Next I applied ATG tape to the face and head pieces and my boys put them all together, sandwiching the peppermint patties in-between. So cute and they really don't take too long. We put 50 of them together in just over an hour.

Here are our happy bunnies.

What an adorable side shot, huh!

We made a tag to match our bunnies. Here I clipped off the ends of the ear parts. The "Happy Easter" stamp is from Close to my Heart.

We put 25 of the bunnies in one of these $1.50 paint pails from Joann's. We added some plastic Easter grass and some sheer ribbon to the outside and we were done.
So cute right! Now download the Gypsy file and take some time to craft with your kids today!
In case you missed it earlier, here is the Gypsy file again:
those are super cute & a great way for your son to take an active role in blessing others! I bet everyone loved them!
ReplyDeleteWhat a wonderful idea. These came out great. thanks for sharing.
ReplyDeleteSo very cute your son did a great job!
ReplyDelete