Well now that I have become addicted to Spellbinders I have been looking for ways to store them. It must be both economical and functional...so what to do. I have found several different ways but I have not picked which way I am going to do it..but I figured I would share some ideas. Now everyone knows about the storage things that Spellbinders has...but as the crafter's we are..we always want to find another way.
Up first - and so far I must admit I love this way for oh so many reasons - check it out this is from Becca at Amazing Paper Grace. The following is from her blog http://www.amazingpapergrace.com/spellbinders-storage/.
My Spellbinders are one of my most used tools and I have a hefty investment in them so I want to make sure they get their use. My Spellbinders storage probably looks like your Spellbinders storage, the fat CD cases make for perfect storage! But, I found that after I color coded mine – I had a solution that really, really worked for me and it has saved me time and frustration. When I’m in the middle of creating, my desk becomes a mess and I could never seem to put my hands on the dies I needed – now they each have a place.
I group my dies in categories – Standard Shapes, Pendants, Labels, Flowers, Nested Shapes, etc. All of my circles are all stored together and at the top of the label I left a place for two colors – the first color is the same for all circles – the second color changes depending on if it is a smooth circle or a scalloped circle. All of my scallop shapes have a lime green label so that I can find them. If you ever decide to color code yours, tailor the colors to what works best for you. Below you can see some of the items I used and the pictures are clickable if you want to see a larger version.
 | I keep my storage within an arms reach of where I sit because I access them frequently. Here I’ve stacked up CD holders that I purchased at Target. |
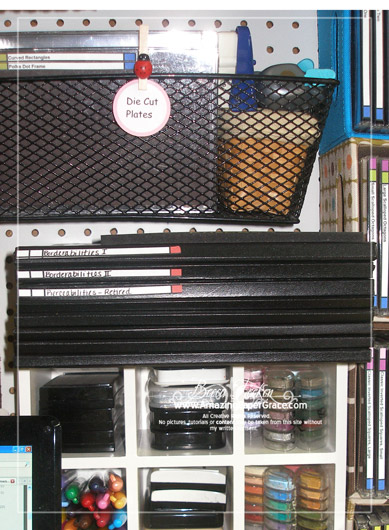 | I also store my Borderabilities and long dies within an arms reach. |
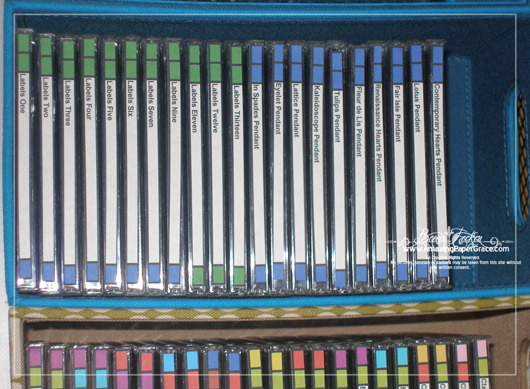 | Here you can see the color coding a little bit better. |
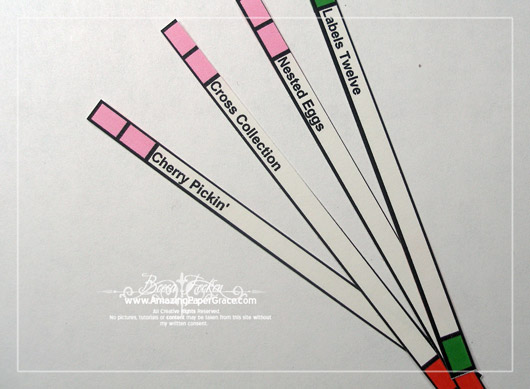 | I simply make an excel spreadsheet, drop in the colors and cut the grid out so that it can be applied to the spine of the CD. These are ready to apply. |
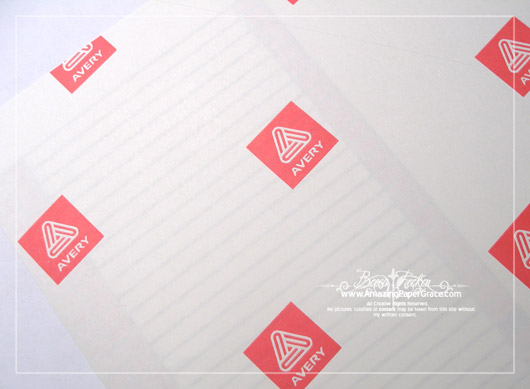 | The spreadsheet is printed on an inkjet printer on Full Sheet Avery Labels (8165) before being cut out. This is what I started out with. |
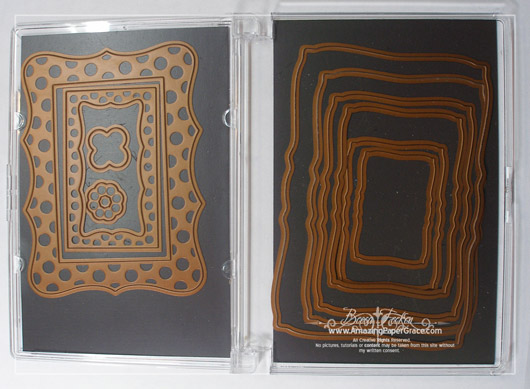 | For the longer nested dies I use CD Cases – I covered them in another post HERE. |
 | I simply apply my spine label to the front of the CD Case. |
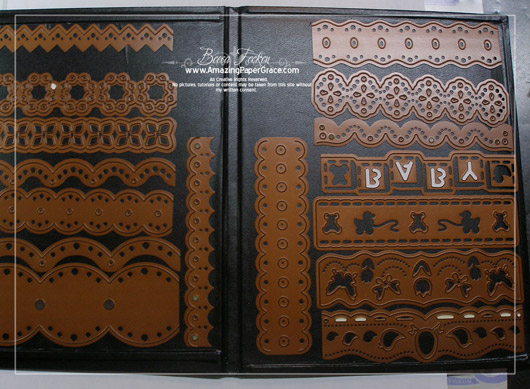 | I store my 6″ borders in a magnetic album. |
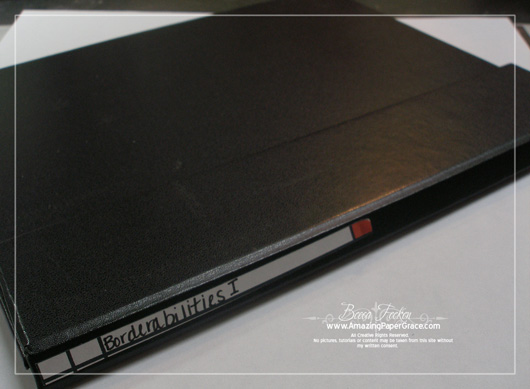 | This one was picked up in the scrapbooking section at Hobby Lobby. |

No comments:
Post a Comment