I think this is the wildest idea!! And as soon as I can find my iron I have got to try this!!
I found this at Split Coast Stampers by Godelieve she did a really nice job on the tutorial as well. Here is original link http://www.splitcoaststampers.com/resources/tutorials/waxpapercuttlebugresist/
I found this at Split Coast Stampers by Godelieve she did a really nice job on the tutorial as well. Here is original link http://www.splitcoaststampers.com/resources/tutorials/waxpapercuttlebugresist/
Combine Cuttlebug embossing with wax paper resist to create beautiful backgrounds.
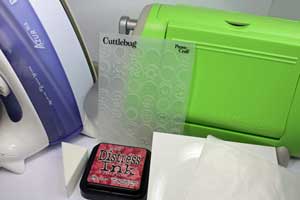
Supplies
- Cuttlebug™
- Cuttlebug™ folder
- Glossy cardstock (twice the size of Cuttlebug embossing folder)
- Wax paper (size of Cuttlebug embossing folder)
- Dye ink (I used the Fired Brick - Distress Ink from Ranger)
- Make-up sponge
- Iron
- Paper towel or copy paper
Step-by-Step
-
Step 1
Emboss the wax paper in the Cuttlebug™ with an Embossing folder of your choice.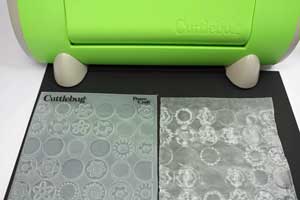
-
Step 2
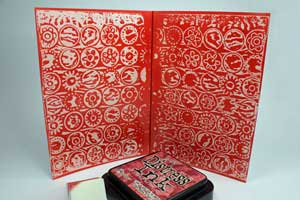
Fold the glossy cardstock in half, and put the embossed wax paper inbetween.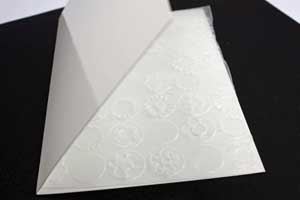
-
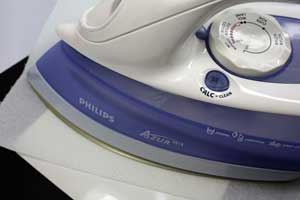
Step 3
Cover the glossy cardstock with copy paper or paper towel, to avoid wax on the iron. Select “cotton” setting on the iron, no steam! Iron the cardstock.
This will transfer the design from the wax paper on to the glossy cardstock.
-
Step 4
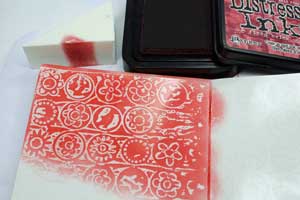
Remove and discard the wax paper. Begin sponging the Distress Ink on, using a circular motion. Apply enough ink to get an even color.
-
Step 5
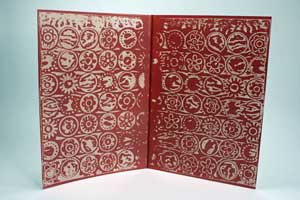
Notice a positive and negative pattern, because both sides of the wax paper were used.
- Color looks less vibrant after a while.
-
Step 6
Finish your card.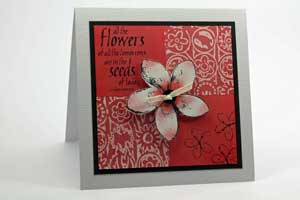

No comments:
Post a Comment